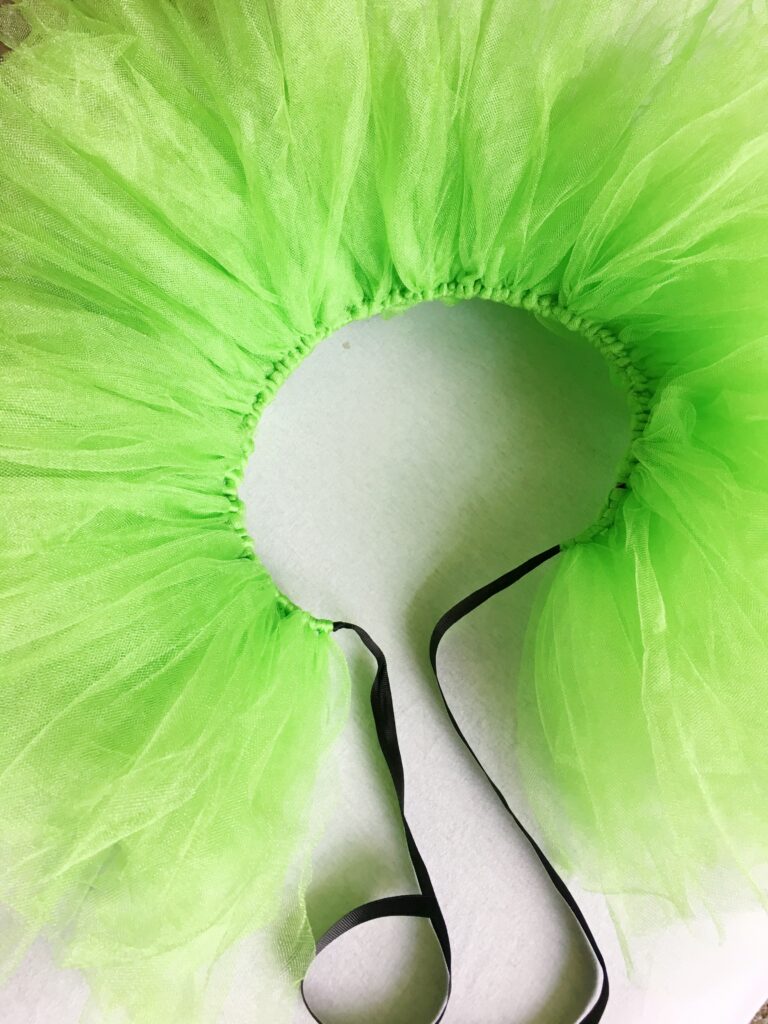
Here is a step by step guide on how to make a DIY No Sew Ribbon Tied Tutu.
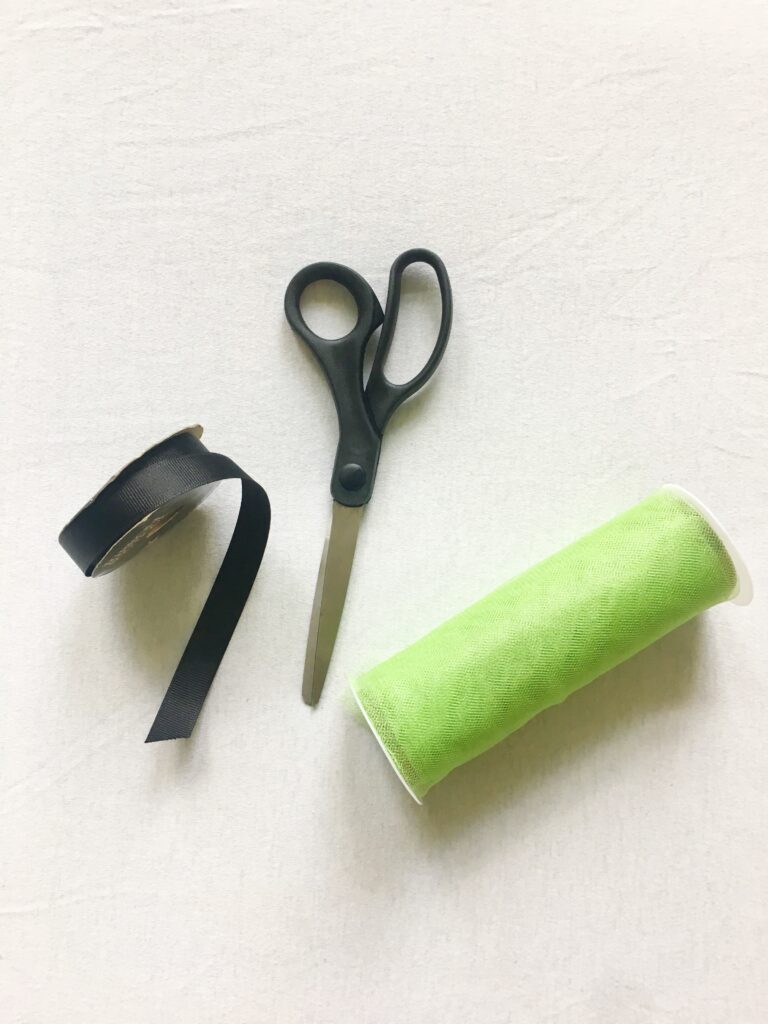
1. Gather Your supplies. You will need tulle or any other stiff lightweight fabric. You can choose the color of your choice. It will be much easier if you get the rolls of tulle that are already the width needed (about 6 in. wide). You will also need a spool of ribbon. Usually, ribbon with texture will hold a knot without coming loose. A pair of fabric scissors or whatever scissors you have that will cut nicely. A measuring tape.  2. Measure the waist. Place the measuring tape where you want the tutu to sit on your hips and wrap it around the waste to get the measurement. Take the measurement and double it depending on how long you want the bow from the ribbon in the back of the tutu to hang. For example, if your waist measures 20 inches then cut 40 inches of ribbon so that there is enough ribbon left to tie the tutu on.
3. Cut the tulle. Decide on the length you want the tutu. Measure down from the waist to where you want the tutu to hang then double that number. Begin cutting the tulle in strips. Remember that the tutu will appear shorter that it is after sitting and bunching. For example, if want the tutu to be 10 inches long then you would cut your strips of tulle 20 inches long.
4. Add the tulle to the ribbon. Take the strips of tulle and fold it in half. Lay the folded tulle on top of the ribbon. Creating a loop at the base, pull the ends of the tulle through the loop tightly creating a knot on the ribbon.
5. Continue adding tulle. Keep adding tulle to the ribbon. For a thicker, fuller tutu make sure to push the knots closer together to get as many on the ribbon possible. 


Leave a Reply